How to Connect Your Shopify Account with VATAi
2025-09-09
Follow these steps to link your Shopify store with VATAi and enable seamless VAT filings and transaction syncing.
Step 1. Start Authorization
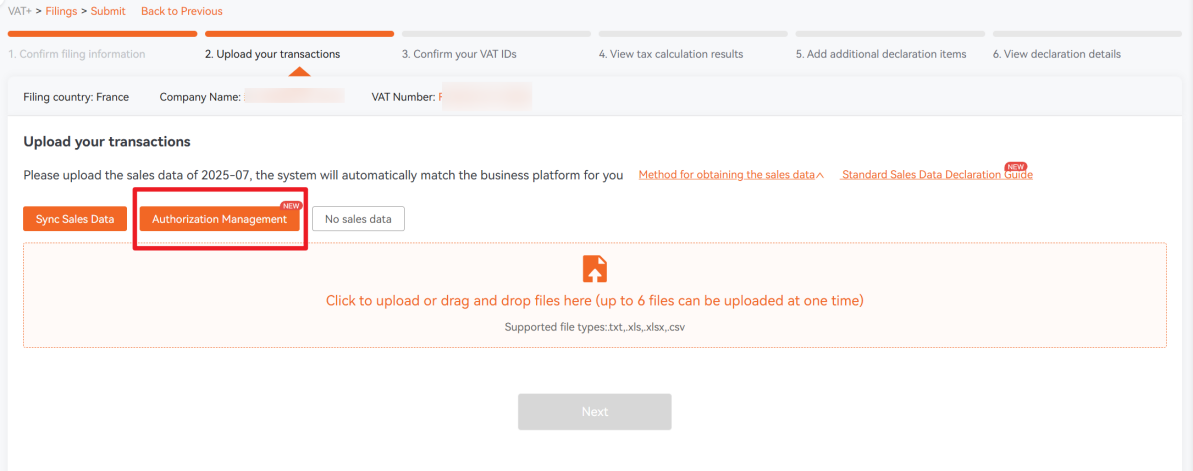
- Go to VAT+ → Filings → Submit.
- On Step 2: Upload your transactions, click Authorization Management.
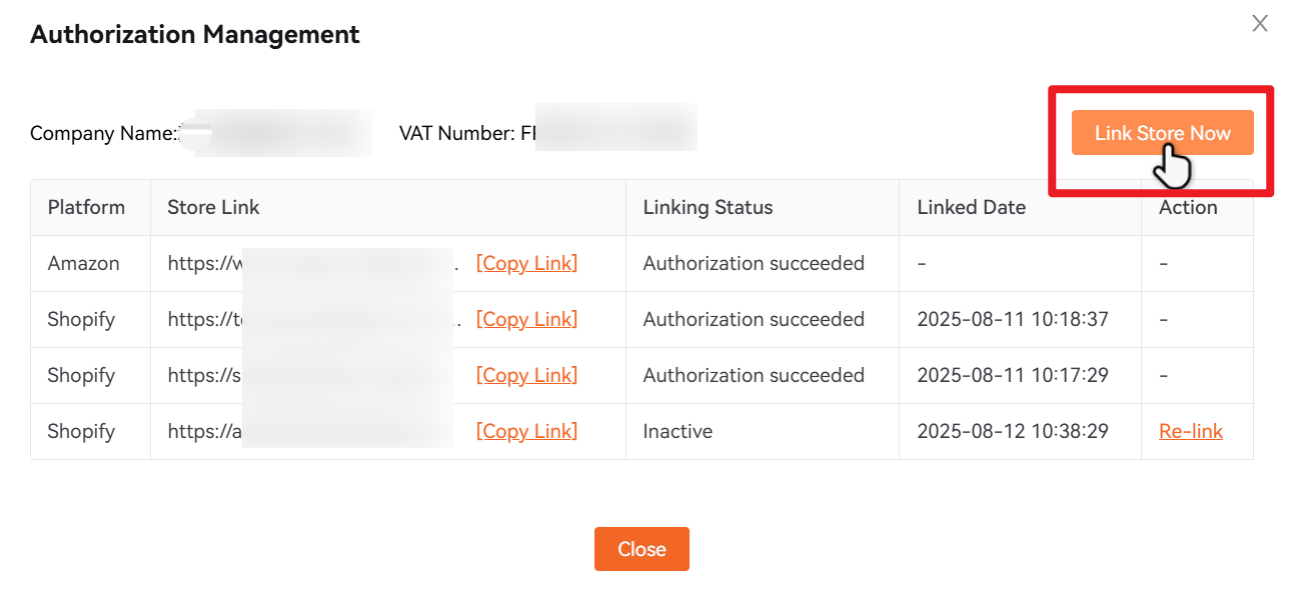
- In the pop-up window, click Link Store Now to start the authorization process.
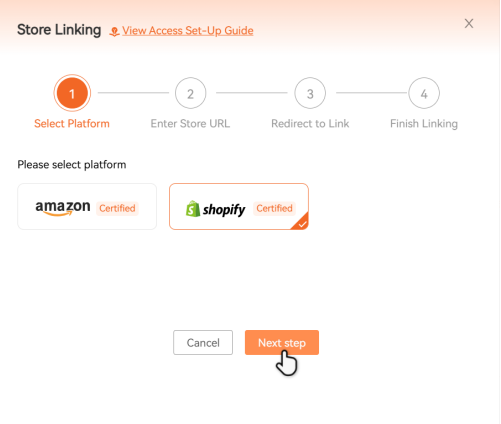
Step 2. Select Platform
Choose Shopify as your platform and click Next Step.
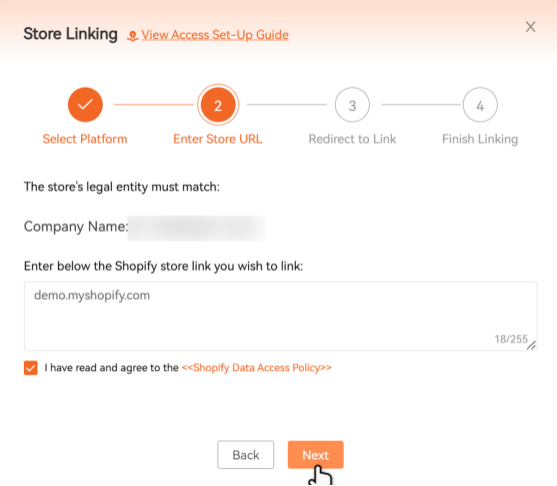
Step 3. Enter Your Store URL
- Go to Shopify Admin → Settings and copy your store link.
- Paste the link into the authorization page.
- Ensure the authorized company name matches the one registered in your Shopify store.
- Check the box to agree to Shopify's Data Access Policy and click Next Step.
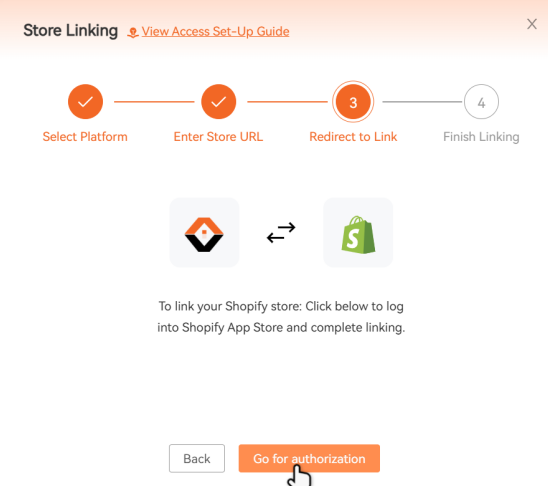
Step 4. Authorize in Shopify
- Click Go for Authorization. You will be redirected to Shopify.
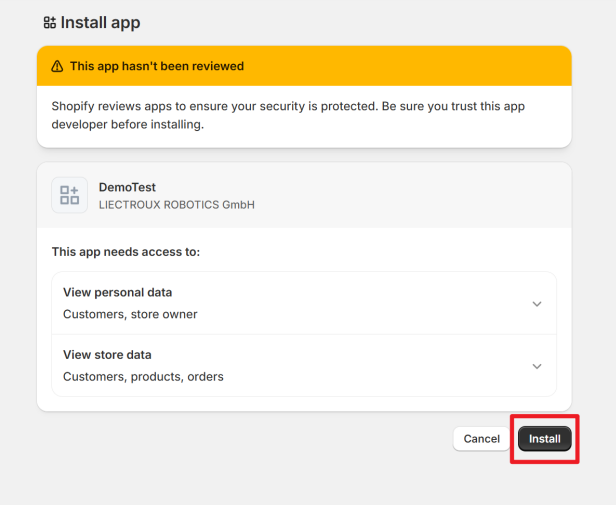
- Log in to your Shopify account.
- Review the app permissions requested by VATAi.
- Click Install, once installation is complete, you'll be redirected back to the VATAi system automatically.
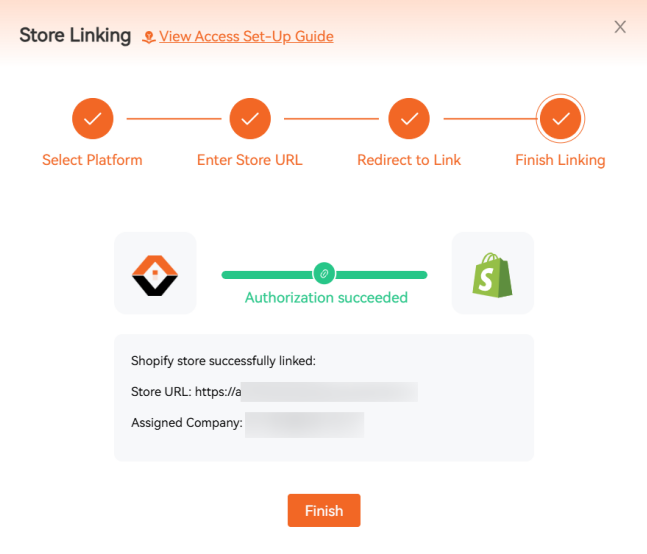
Step 5. Complete Linking
After being redirected back to the system, you will see the final authorization result:
- If authorization is successful: Click the [Finish] button to close the window and finish the authorization process.
- If authorization fails: Please check whether you followed the above steps correctly. You may also click [Back] to return and try again.
Tips & Troubleshooting
- Make sure your company name in VATAi matches the one registered in Shopify.
- Confirm you are logged into the correct Shopify account before authorizing.
- If the authorization still fails, contact VATAi Support support@vatai.com for assistance.
Subscribe to Our Newsletter
Get practical VAT, EPR & e-commerce compliance tips to help your business stay compliant across markets.
Get Your Free Consultation Today!
Get in Touch